
Disclosure: As an Amazon Associate, I earn from qualifying purchases.
An aspiring photographer may be full of questions about ISO, which may be considered mere jargon of the camera. But perhaps the first steps towards creative control over your DSLR or mirrorless camera are learning how to use it. The sensitivity of the light your camera sensor (or film) is capable of capturing is also influenced by ISO, and has an immediate impact on how bright the photographs are, how sharp they turn out, and whether there is a graininess to them.
In this tutorial, we are going to break down ISO and make it sound like we do not know anything in layman’s terms, both in digital photos and in ISO film photography. You will find out when to increase or decrease ISO, how it relates to the shutter speed and aperture, and how not to make the most common amateur mistakes.
It is time to decode ISO—one of the three legs of the exposure tripod!
Tools You’ll Need
Before you start experimenting with ISO, here are some beginner-friendly gear picks:
1. Canon EOS R100 Mirrorless Camera Kit

Price Range: £500–£600
- 24.1MP APS-C Sensor
- ISO Range: 100–12800 (expandable to 25600)
- 4K Video, Dual Pixel Autofocus
Why It’s Great: Simple and entry-level, and has full manual control of ISO, aperture, and shutter speed.
Affiliate Link: Canon EOS Rebel T7
2. Nikon Z30 Vlogging Camera Kit

Price Range: £650–£750
- ISO Range: 100–51200
- Flip-out screen, 4K video
Why It’s Great: Excellent when you are a vlogger or YouTuber and you require a good performance in low-light situations and have ISO versatility.
Affiliate Link: Amazon Basics Lightweight Tripod
3. Sony ZV-E10 with 16–50mm Lens
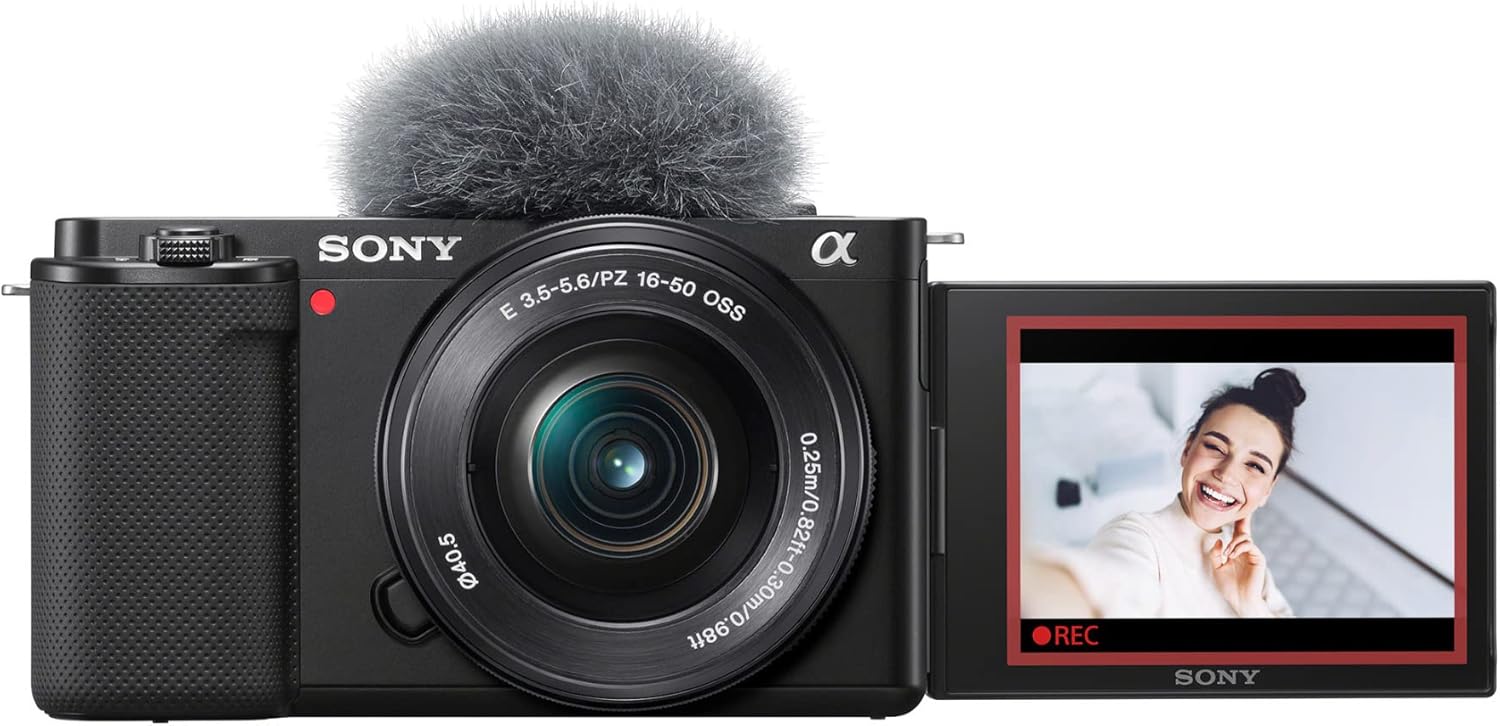
Price Range: £700–£800
- ISO: 100–32000 (Expandable to 51200)
- Excellent autofocus and skin tone rendering
Why It’s Great: Wonderful for hybrid shooters who would like to test the ISO functionality in video and photography.
Sony ZV‑E10 II is the best budget friendly camera for daily youtube vlogging
4. Kodak Gold 200 Film (35mm)

Price Range: £15–£20 (3-pack)
Why It’s Great: This ISO 200 film can be used in bright daylight because it is favorable to lovers of analog photography.
5. Neewer Lightweight Tripod with Phone Mount

Price Range: £30–£50
Why It’s Great: This is necessary to test the low ISO levels in the low light with no camera shake.
What is ISO in Photography?
Definition:
- ISO measures your camera’s sensitivity to light.
- ISOs lower (i.e., ISO 100) = Less sensitive = Darker picture
- Greater ISO (e.g. ISO 3200 or ISO 6400) = Greater sensitivity = brighter picture
In digital, ISO amplifies the signal of the image sensor. ISO (or ASA) is the sensitivity of the film to the light inherent in film photography.
ISO Scale (Digital Photography):
Here’s a typical ISO scale:
100 → 200 → 400 → 800 → 1600 → 3200 → 6400 → 12800
Every increment in step doubles the sensitivity—so an increase from ISO 100 to 200 increases the brightness twofold.
What is ISO in Film Photography?
The ISO in film photography (that is, the sensitivity of the film to light) was formerly known as the ASA or DIN.
- ISO 100 film = Best in bright lamplight.
- ISO 400 film = Grand all-rounder
- ISO 800-3200 film = Close-up photography at night or indoors
In film photography, you are not able to change the ISO in the middle of the roll. When you insert the film, you select a single ISO, and it remains that throughout, which is the opposite of digital, as each shot can be varied according to ISO.
ISO vs Shutter Speed vs Aperture
(The Exposure Triangle)
ISO coordinates with:
- Shutter Speed—The duration of exposing the sensor to light. How fast is it? What is the duration of activation of the shutter?
- Aperture (f-stop)—The amount that a lens opens. How wide the lens opens
ISO alteration alters your exposure:
| Exposure Triangle | Function | Example |
| ISO | Sensitivity | Higher ISO = brighter photo |
| Shutter Speed | Motion blur | Slower shutter = more light |
| Aperture | Depth of field | Wider aperture = more light |
Use Case:
When you are photographing indoors, and you do not want to get a blurry picture thanks to the slow shutter speed, you may increase the ISO to brighten the picture to achieve clarity and sharpness, but you will lose detail.
How to Use ISO on Your Camera Step-by-Step:
Step 1: Switch to Manual or Aperture/Shutter Priority Mode
Most cameras will have an M (Manual), A/Av (Aperture Priority), or S/Tv (Shutter Priority) mode. These modes are made to enable ISO control.
Step 2: Locate the ISO Button or Menu
A special ISO button can be found on most cameras. Otherwise, look in the menu under “Exposure Settings.”
Step 3: Set a Base ISO (Start Low)
The brown setting ISO 100 or 200 will be recommended in good lighting. This renders you with the crispest picture having the minimum noise.
Step 4: Adjust ISO Based on Light
- Bright sunlight → ISO 100–200
- Cloudy conditions → ISO 400–800
- Indoor or low light → ISO 800–3200
- Night scenes → ISO 3200–12800+
Step 5: Check the Image and Zoom In
Once a test shot has been given, zoom in and check to see whether it is over-grained or noisy. Manual ISO.
Real-World ISO Scenarios
Scenario 1: Outdoor Portraits (Bright Daylight)
- Take ISO 100–200
- Focus on aperture (f/2.8–f/4) for background blur
Scenario 2: Indoor Vlogging
- Take ISO 800–1600
- Pair it up with artificial lighting for best results
Scenario 3: Night Street Photography
- Take ISO 3200+
- Pair it up with a fast prime lens (f/1.8 or wider)
Scenario 4: Sports or Action
- Take ISO 800–1600+
- Combine with fast shutter speeds (1/500 s or faster)
Common ISO Mistakes Beginners Make
- With Auto ISO All of the Time
Auto ISO is convenient, but it often pushes ISO too high, adding unnecessary noise. - Taking it to Highs that are not Necessary
At high speed: ISO 6400 can rescue a night shot– not an ISO 800, though. - Ignoring Noise in Shadows
An increased ISO produces digital noise, particularly in low-light places - Underexposing to “Fix Later”
ISO noise can be aggravated through editing by increasing brightness. Your objective should be to properly expose incoming.
Tips for Mastering ISO
- To create the best quality, use the lowest ISO that is possible
- Dutifully buy some lenses that have large apertures (f/1.8 or f/2.8)
- Shoot low ISO even in low lighting with a tripod
- Get to know the response of your camera to noise under various ISO settings
- It is all right to bump up ISO when necessary—grainy beats blurry
ISO & Noise Comparison Table
| ISO Value | Brightness | Noise Level | Best Use Case |
| ISO 100 | Low | Minimal | Sunny outdoor shoots |
| ISO 400 | Moderate | Low | Cloudy daylight, indoor with window light |
| ISO 800 | High | Medium | Indoor, evening |
| ISO 1600+ | Very High | High | Low-light, night, fast-moving subjects |
Conclusion:
ISO is among the key settings that any prospective photographer/content creator should learn. It does not only make your picture bright but also qualifies the quality of the image, good or noisy. Once you understand how to balance ISO, aperture and shutter speed, you will never lose control of your creativity, regardless of whatever it happens to be that you are shooting, cinematic YouTube footage or crisp landscapes.
Therefore, the next time you are shooting under manual mode, do not ignore ISO. Experiment. Get to know the habits of your camera at the various sensitivities. Soon it will be second nature to you which ISO to use—whatever the scene requires.