

Disclosure: As an Amazon Associate, I earn from qualifying purchases.
Manual Mode on a DSLR gives you full creative control over your photos. By adjusting ISO, shutter speed, and aperture, you can control exposure, blur, and focus. It may not seem very easy at first, but once you understand how these settings interact, your photography will improve drastically. Start with a beginner-friendly DSLR like the Canon EOS Rebel T7 or Nikon D3500, then practice common scenarios like outdoor portraits, night cityscapes, and action shots. Use accessories like tripods and prime lenses to further enhance your shots.
What is Manual Mode on a DSLR?
Would you like to free yourself from Auto mode and make your DSLR camera entirely creative in capturing? It may appear daunting to shoot in manual mode, but as soon as you learn how factors such as ISO, shutter speed, and aperture interact, you will begin to imagine a whole new capacity for photography.
In this DSLR beginner manual mode tutorial, we will break down the core settings step by step and suggest some of the best beginner accessories so that you can learn by doing and even purchase some of the best-value cameras and accessories using the affiliate links below.
Manual mode (designated “M” on your camera’s dial) lets you control exposure specifically, three:
- ISO – sets light sensitivity
- Shutter speed measures how long the sensor has to capture the light
- Aperture (f-stop) regulates the amount of light that goes in through the lens
This is often known as the exposure triangle, and while you learn how you unwind the scene, it is pretty much certain that your images will become hundreds of times better.
Start with the Right DSLR (DSLR for newbies)
Prior to getting into the task of using manual mode, make sure that you have a beginner-friendly, full-manual DSLR or a mirrorless camera.
Recommended Cameras for Beginners:
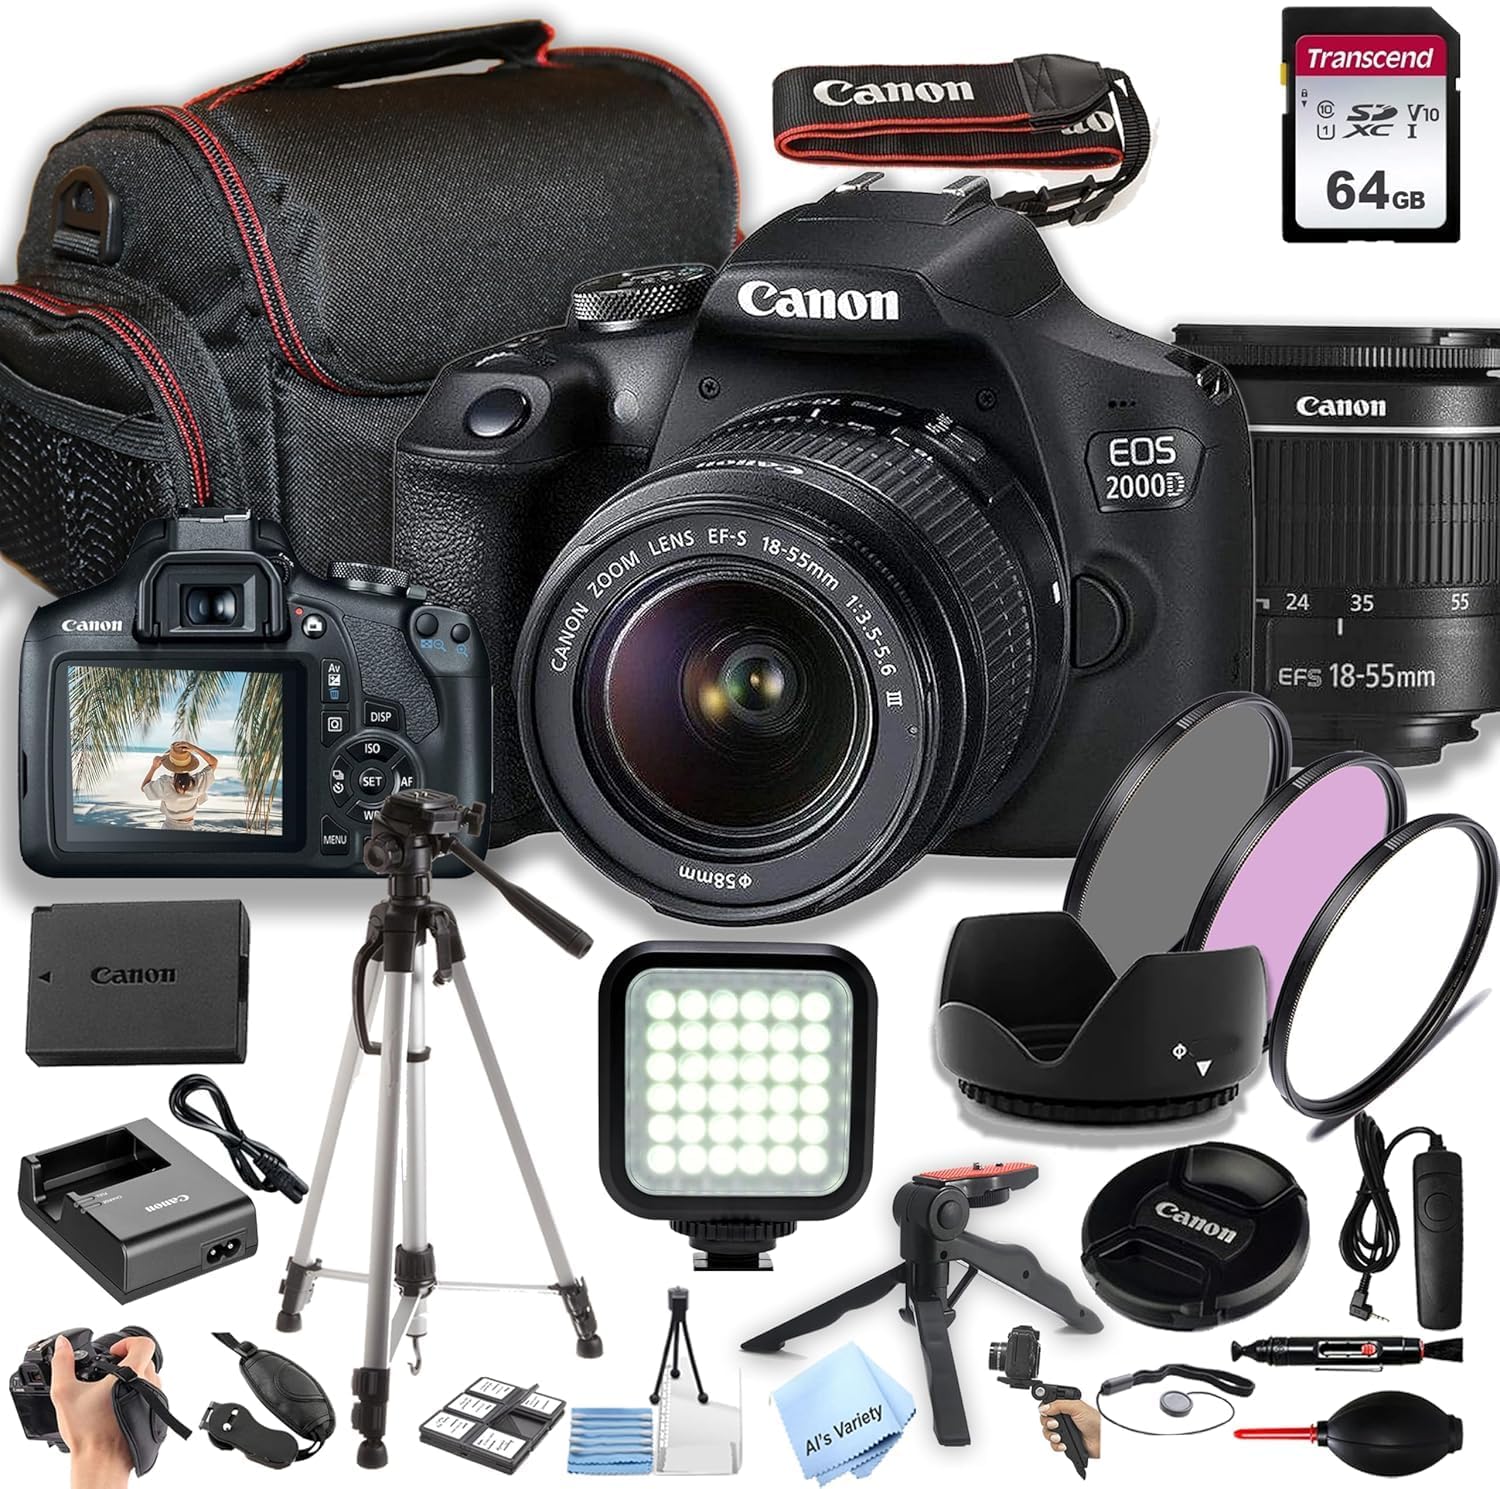
- Canon EOS Rebel T7 / 2000D
Price Range: £400–£500 (with kit lens)
Key Specs:
- 24.1MP APS-C sensor
- Built-in Guide Mode
- Full Manual (M) support
- Wi-Fi for easy sharing
Recommended: Beginners in need of an inexpensive but reliable DSLR
The Canon EOS Rebel T7 (or 2000D) is easily the most popular low-end DSLR and that has something to do with it. It also features a 24.1MP APS-C sensor, an inbuilt guide mode, and manual controls, allowing novice photographers to learn at their own pace, from transitioning from Auto to Manual shooting. The large LCD allows for editing your photographs in the blink of an eye, and built-in Wi-Fi enables you to exchange photos on the go.
Affiliate Link: Canon EOS Rebel T7
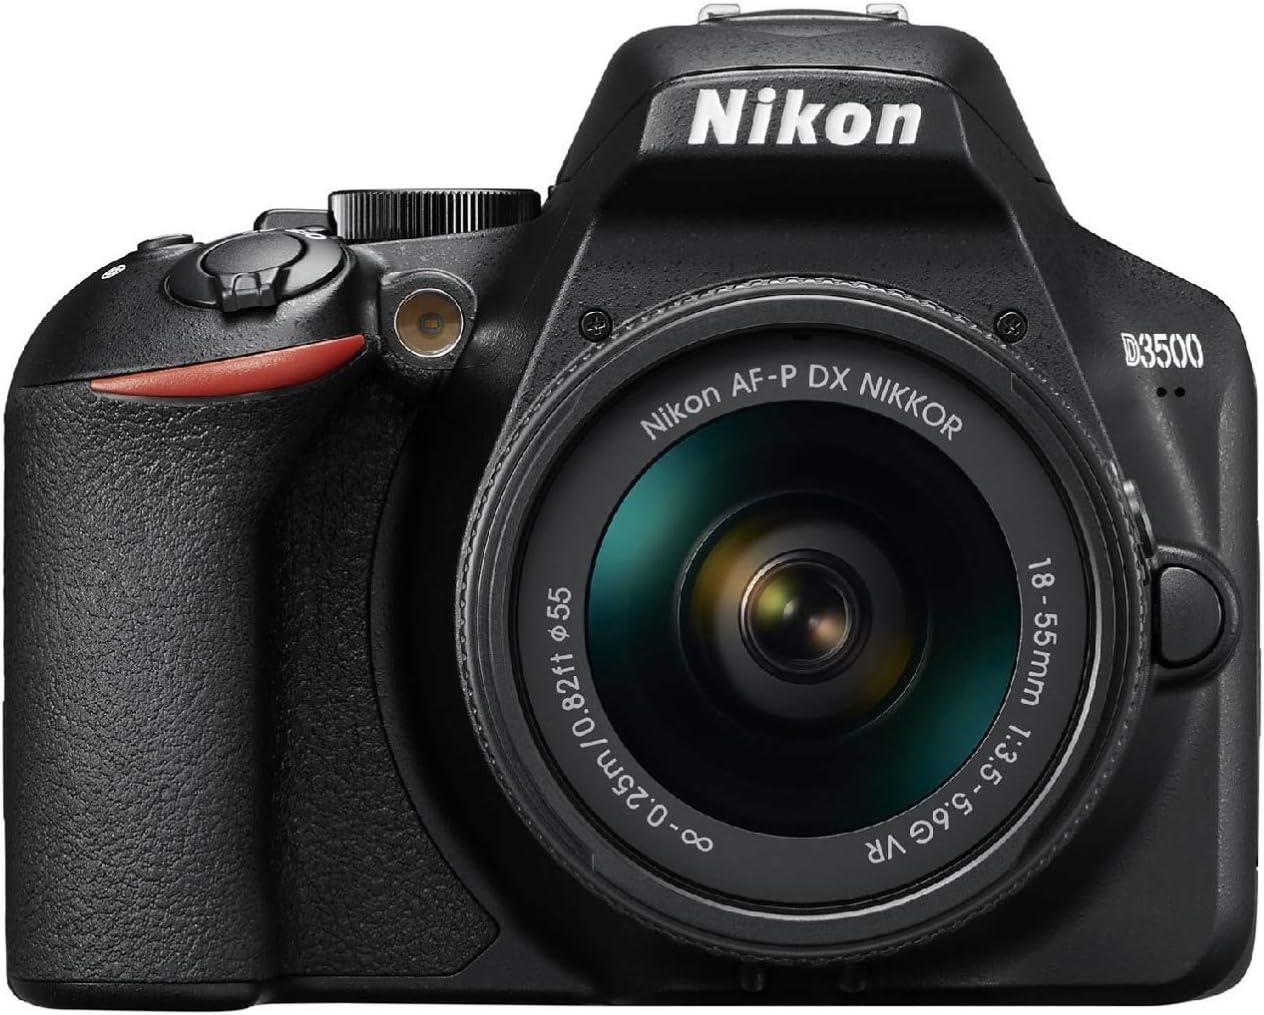
- Nikon D3500 DSLR Camera
Price Range: £450–£550
Key Specs:
- 24.2MP sensor
- Exceptional battery life (up to 1500 shots)
- SnapBridge Bluetooth connectivity
- Guide Mode for new users
Best for: anyone who has never used a DSLR before and who is looking to get a long battery life and simplicity
The Nikon D3500 has quite high reviews due to the convenience of use and excellent battery life of a camera with a maximum of 1,500 shots on one charge. It has a sharp, vibrant 24.2MP sensor and an inbuilt Guide Mode, which is ideal for training absolute beginners in the fundamentals of Manual Mode. Coming in small dimensions, it is lighter in weight and compatible and suitable with a large variety of lenses, especially those in Nikon F-mount; it is a dynamite entry-level camera.
Affiliate Link: Nikon D3500 DSLR Camera
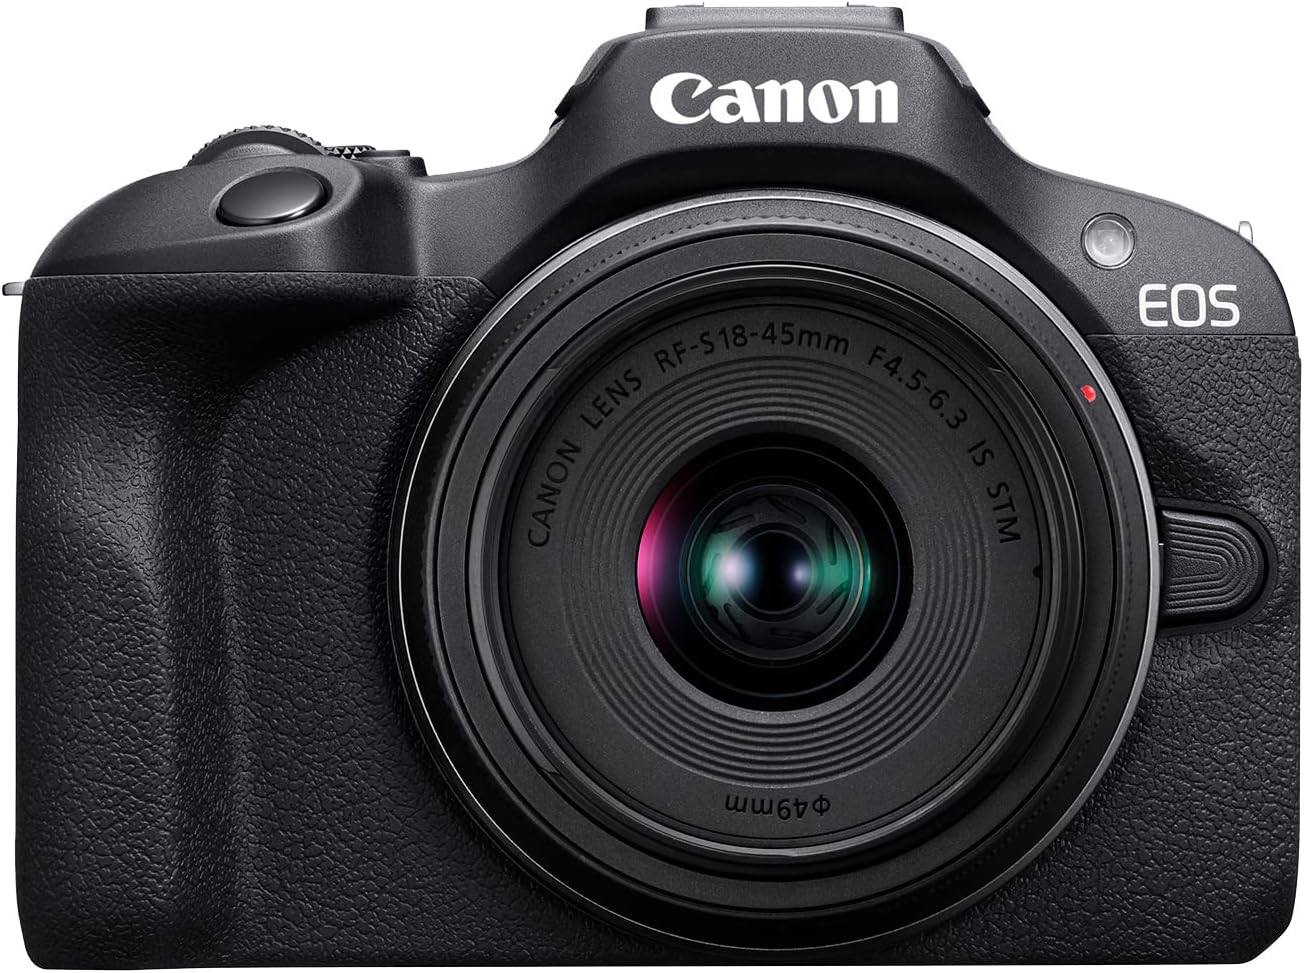
- Canon EOS R100 Mirrorless
Price Range: £550–£650
Key Specs:
- 24.1MP APS-C sensor
- Dual Pixel Autofocus
- 4K Video support
- Lightweight, compact body
Best for: Creators requiring a compact, contemporary kit with future-proof features
The Canon EOS R100 is a cheap mirrorless camera within Canon’s crop dSLR–like RF-mount system. It has a 24.1MP APS-C sensor, 4K video recording, and can do the full Manual Mode; it will make a reasonable choice for photographers who like the DSLR potential in a diminutive size. The modern design and fast autofocus system make it the ideal camera to use in vlogging, travel, and hybrid content.
Affiliate Link: Canon EOS R100 Mirrorless
Step 1: Understand the Exposure Triangle
| Setting | Controls | Trade-Off |
| ISO | Sensitivity to light | High = brighter + more noise |
| Shutter Speed | Motion blur or freeze | Slow = blur, Fast = freeze |
| Aperture | Depth of field | Wide = background blur, Narrow = sharper image |
Every setting influences the brightness and style of your photo, and changing one commonplace will most likely influence another so that the exposure stays balanced.
Step 2: Set ISO
ISO tells your camera sensor how sensitive it is to light.
- 100–200: Bright daylight
- 400–800: Indoors
- 1600+: Night or low light
Step 3: Adjust the Aperture (f-stop)
Aperture influences the extent to which your picture is in focus. Lower f-numbers = blurrier backgrounds.
- f/1.8–f/3.5: Portraits with soft background
- f/5.6–f/8: Balanced general scenes
- f/11+: Landscapes with deep focus
Recommended Lens:
Canon EF 50mm f/1.8 STM Lens – A cheap prime, which is good to learn depth of field with.
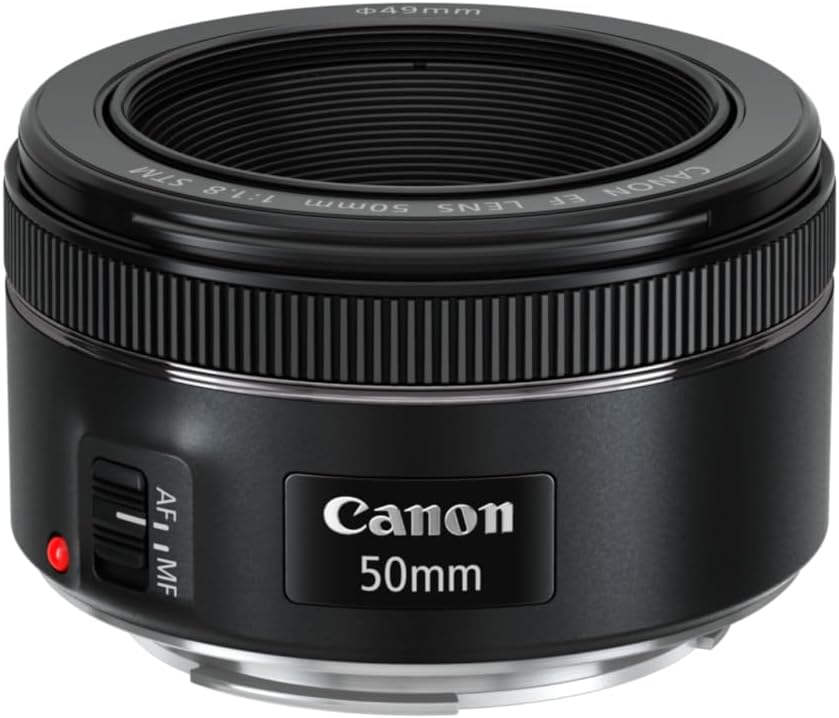
Affiliate Link: Canon EF 50mm
Step 4: Choose Your Shutter Speed
Shutter speed determines how long the camera’s sensor is exposed.
- 1/1000+ – Sports or wildlife
- 1/250–1/125 – General use
- 1/60 or slower – Low light or creative blur
Recommended Gear:
Amazon Basics Lightweight Tripod Helpful for slower shutter speeds or night photography.

Affiliate Link: Amazon Basics Lightweight Tripod
Step 5: Use the Exposure Meter
Check your DSLR’s built-in light meter in the viewfinder or LCD. If the reading is:
- – → Underexposed (too dark)
- + → Overexposed (too bright)
- 0 → Balanced
Adjust ISO, aperture, or shutter speed to center the reading.
Bonus Tip: Wish to learn quicker? To check the distribution of light in your images, use your histogram (digital cameras only have histograms).
Practice with Common Scenarios
Here are sample settings you can try today:
Outdoor Portrait (Blurry background)
- ISO: 100
- Aperture: f/2.8
- Shutter Speed: 1/200
- Lens: Canon 50mm f/1.8
Night Cityscape (Tripod needed)
- ISO: 800–1600
- Aperture: f/8
- Shutter Speed: 1/10
- Accessory: Lightweight Tripod
Action Shot (Freeze movement)
- ISO: 400
- Aperture: f/4
Shutter Speed: 1/1000 - Camera: Canon EOS R100
Key Takeaways:
- Manual Mode lets you control ISO, shutter speed, and aperture, giving you full creative freedom.
- The exposure triangle is the relationship between these three settings, and understanding it is crucial for great photos.
- ISO: Controls sensitivity to light. Lower for bright conditions, higher for low light.
- Shutter Speed: Affects motion blur. Faster speeds freeze action, slower speeds capture motion.
- Aperture (f-stop): Affects depth of field. Lower f-numbers = blurrier background; higher f-numbers = sharper focus.
- Exposure Meter on your camera helps balance these settings for a well-lit image.
- Practice with sample settings for different scenarios to get comfortable.
FAQs:
- What is manual mode on a DSLR?
Manual mode allows you to manually control ISO, shutter speed, and aperture, giving you full creative control over your photos. - How do I use ISO in manual mode?
ISO adjusts the sensitivity of your camera’s sensor to light. Use 100-200 for bright daylight, 400-800 for indoor shots, and 1600+ for low light or night photography. - What is the exposure triangle?
The exposure triangle refers to the three key settings that control exposure: ISO, shutter speed, and aperture. Adjusting one will affect the others, so understanding their interaction is essential for balanced exposure. - What shutter speed should I use for action shots?
For fast-moving subjects like sports or wildlife, use a fast shutter speed like 1/1000 to freeze the motion. - How does aperture affect my photo?
Aperture controls the amount of light entering your camera and the depth of field. Lower f-numbers (e.g., f/1.8) create a blurry background, while higher f-numbers (e.g., f/8) give more of the image in focus. - Do I need any accessories to shoot in manual mode?
A tripod is helpful for long exposures, especially in low light. A prime lens (like the Canon EF 50mm f/1.8) can help you learn how aperture affects depth of field. - Which camera is best for beginners learning manual mode?
The Canon EOS Rebel T7 and Nikon D3500 are both excellent entry-level cameras with full manual controls and helpful guide modes. - What settings should I use for an outdoor portrait?
Try ISO 100, f/2.8 aperture for a blurry background, and shutter speed of 1/200. - How do I use a light meter in manual mode?
Your camera’s light meter helps you achieve proper exposure. If the meter reads “0”, your exposure is balanced. Adjust ISO, aperture, or shutter speed to center the reading.
Final Thoughts
Although it might require some time before you find the knack of shooting in a manual mode, when you do, you will be able to find your unique style of photography and be completely creative with your photos to do anything you want. The difference between allowing yourself the freedom of choice of the measure of light that you enter, how you choose to record movement, and what field of depth that you care to keep in focus will turn your shots into night and day.
Let us now have at it. You should get one of the suggested cameras above, set it using the sample settings, and experiment. Save this tutorial and come back whenever you need to refer to it when you want to nail that shot.