
Disclosure: As an Amazon Associate, I earn from qualifying purchases.
Beginner’s Guide to Shallow Depth of Field Photography
Blurry background—better known as bokeh is one of the most spectacular effects in portrait photography. It instantly brings out your subject, making your photos have that professional feel of cinema. And, of course, in case you have ever loved portraits where the subject appears sharply focused yet the out-of-focus background drifts in a creamy mould, that is the magic in shallow depth of field.
The upside of this? It does not require a high-priced studio or many years of experience to accomplish it. You can perfect this technique even as an amateur with the proper camera settings, selection of lens, and positioning.
In this tutorial, you’ll learn:
- The nature of what shallow depth of field is and how it works
- The equipment you will require to achieve a fanciful background blur
- Step-by-step portrait photography camera settings
- Cool tips to increase your results
- Some mistakes to be avoided
This tutorial will guide you in shooting portraits with a DSLR, a mirrorless camera, or even a high-end compact camera so that your photo frames look like they belong to a professional portfolio.
Tools You’ll Need
1. A Camera with Manual or Aperture Priority Mode
A camera that gives you control of aperture, shutter speed, and ISO will be required. These are some of the easy-going ones:
- The Canon EOS R50 is a low-weight mirrorless camera with good autofocus and good photo and video.

Affiliate Link: Canon EOS R50
- Nikon Z50 – smaller, sharper, and beginner-friendly with great lens choices.

Affiliate Link: Nikon Z50
- Sony ZV-E10 – Creators have the excellent possibility of having a super background blur.
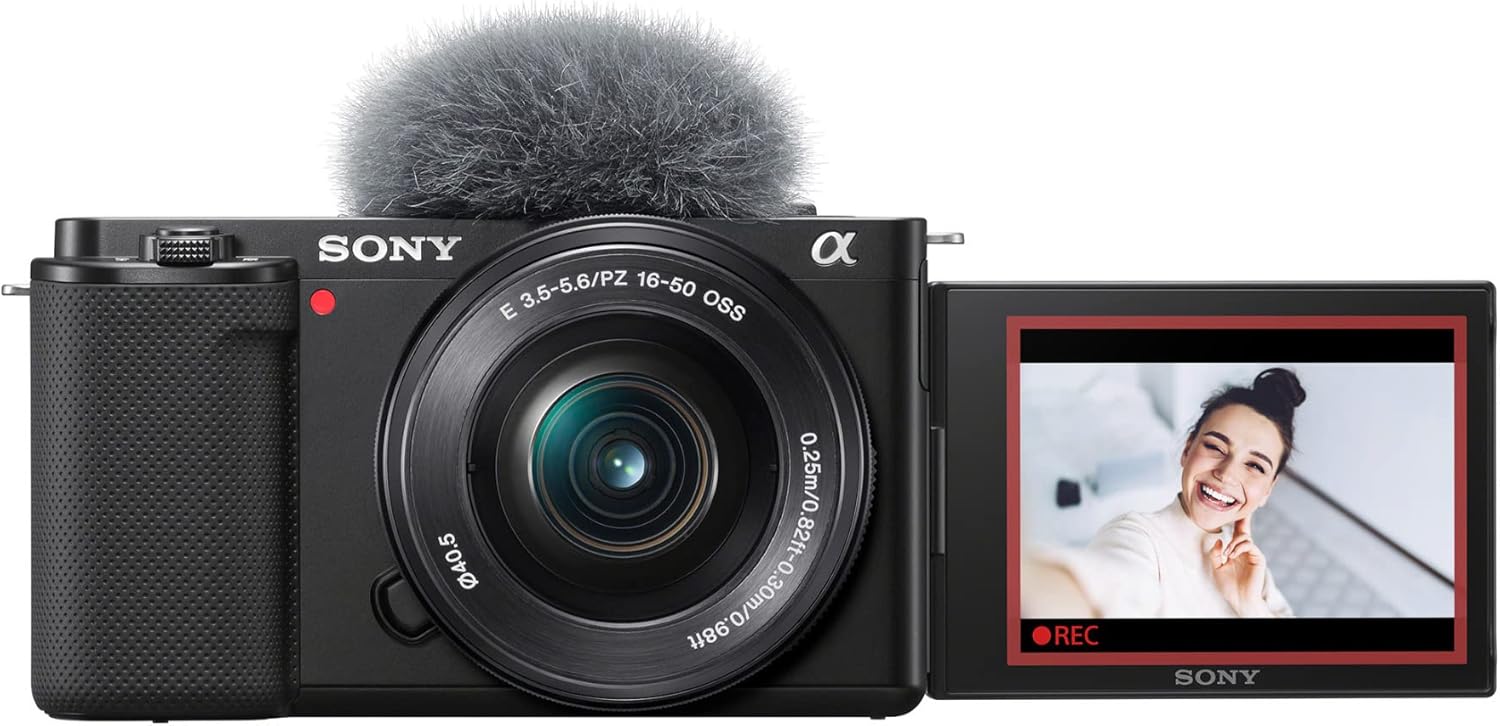
Affiliate Link: Sony ZV-E10
2. Fast Lens (Wide Aperture)
The lens has the most impact on the background blur. Look for f/1.8 or wider:
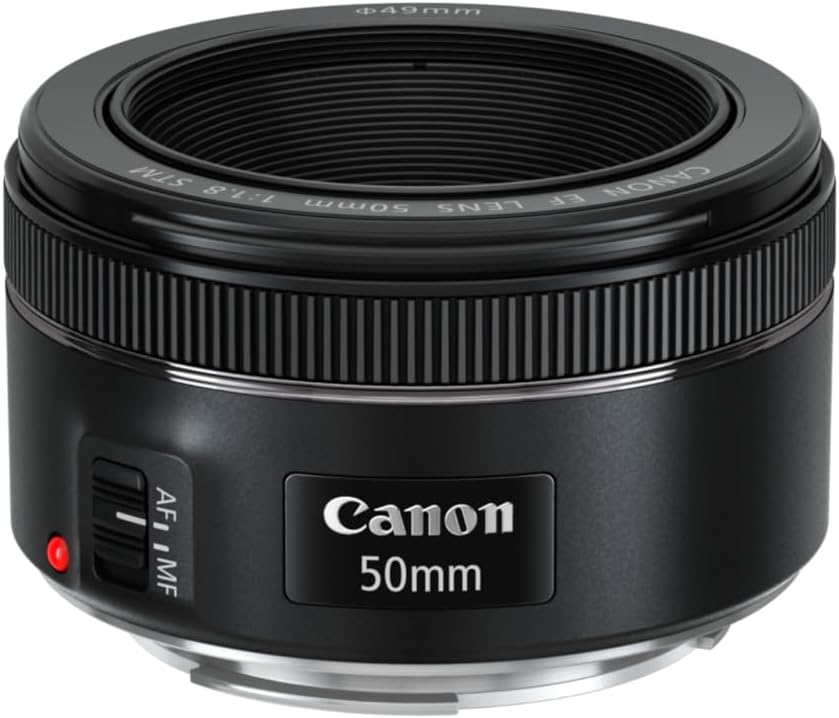
- Canon EF 50mm f/1.8 STM – Great budget option, tack sharp, and good for Portraits.
- The Nikon Z 50mm f/1.8 S— Excellent quality and heavenly bokeh.
- Sony 50mm f/1.8 – Good prime lenses for Sony E mount.

- Sigma 85mm f/1.4 DG DN Art – Pro Premium creamy bokeh Option. View price

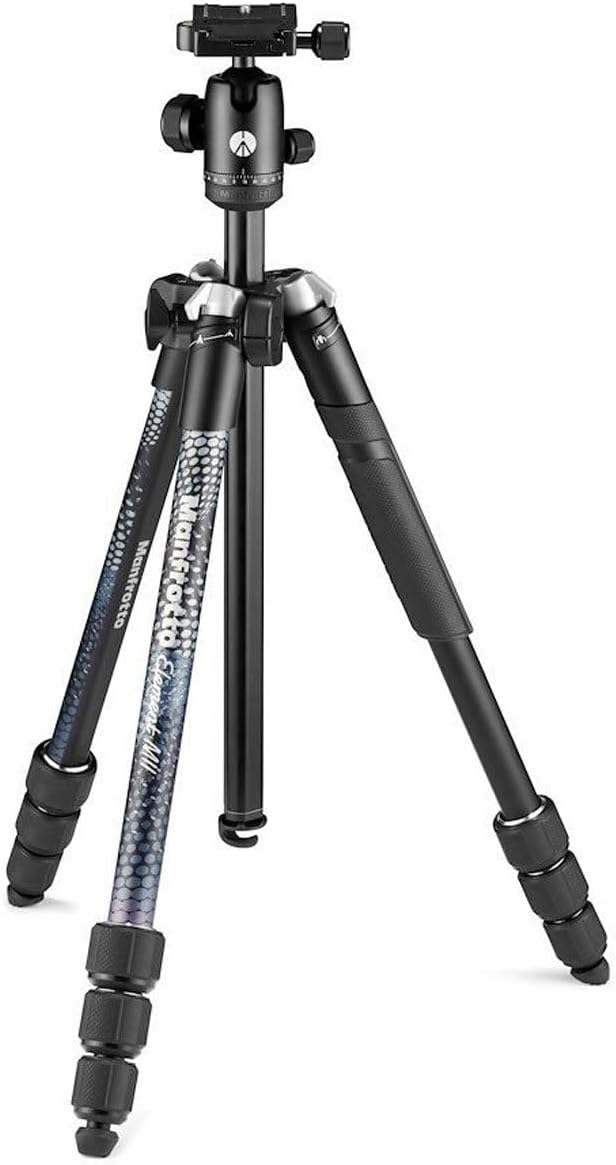
3. Tripod (Optional)
Not necessary when taking daylight portraits, but handy when there is low light.
- The Manfrotto Compact Action Tripod is a commercial, travel-friendly, lightweight tripod.
- Joby GorillaPod 3K: Adapt and adjust legs and angles to be creative and create vlog gear.

4. Good Lighting
The natural lighting is best for newbies, but you can also use a cheap kit:
- Neewer 18″ Ring Light Kit—Perfect for use with indoor portraits in addition to YouTube videos.

- Godox SL-60W LED Video Light – Secure, flexible, and consistent light source.

Step-by-Step: How to Take Portrait Photos with a Blurred Background
Step 1: Learn Depth of Field
The range of your image that is in focus is known as depth of field (DoF). Shallow DoF isolates your subject and makes the rest unfocused.
The three key features:
- Aperture size – Wider aperture (e.g., f/1.8) = more blur.
- Distance to subject – Closer to your subject = more blur.
- Focal length – Longer lenses (e.g., 85mm) = greater compression and blur.
Step 2: Go into Aperture Priority (A/Av) or Manual (M) mode
Naturally, the easiest one to start with as a new photographer: you select an aperture, and the rest is your camera selecting it.
- A (Nikon/Sony) or Av (Canon) mode.
- Under Manual, you will be in charge of aperture, shutter speed, and ISO.
Step 3: Set a Wide Aperture
To obtain it, you should use the lowest f-number of your lens:
- f/1.4-f/2.8 = heavy blur
- f/3.5-f/5.6 = moderate blur
Beginner example setup:
- Camera: Canon EOS R50 with Canon RF 50mm f/1.8 STM
- Settings: f/1.8 1/200 sec, ISO 200
Step 4: Use a Longer Focal Length
When you have a zoom lens, zoom in to 85mm or beyond. Take a wide-angle lens (18 55mm) and zoom to 55mm in instances where you have a kit lens.
- Budget choice: Canon RF 85mm f/2 Macro IS STM – a second lens as a portrait lens and as a macro.

Step 5: Position Your Subject Away from the Background
When one wants the maximum blur:
- Keep the subject and the background 10+ feet apart.
- Do not directly put them between fences and the walls.
Step 6: Focus on the Eyes
Make it do single-point autofocus and put it above one eye.
- Make your camera set to Eye AF accuracy (if it is enabled, such as for the Sony ZV-E10 or Nikon’s Z50).
Step 7: Adjust Shutter speed & ISO
In Aperture Priority shooting mode, the camera adjusts the speed of the shutter. Keep ISO low.
- Daylight: ISO 100–400
- Low light: ISO 800 – 1600
If in Manual:
- Shutter speed set to 1/125 sec or sooner.
Step 8: Experiment with Backgrounds
Background blur is great for textures & lights:
- Pictures of Trees, Flowers or even patterned walls.
- Night City lights for bokeh ball
- Softbox String lights for a cute Portrait
Optional inventive bokeh gear:
- Fairy String Lights—Perfect for bohemian homes or boho indoor installations.

Pro Tips on Stunning Blurry Background Portraits
- Golden Hour Is Your Friend: Shooting in the early morning or late afternoon, you will get a warm and flattering glowing light.
- Wardrobe Attention: Stick to solid colours when you want to make your subject focus on the face.
- Take advantage of Foreground Elements– Shooting through leaves or flowers is very appealing.
- Prime Lenses are better than Zooms– A cheap 50mm f/1.8 will blow most kit zooms out of the water when it comes to bokeh.
- Practice at different Distances near and far, and observe how the focus varies.
The Most Common Mistakes to Avoid
- Too Near to Background -the illumination effect will be less blurred.
- Way too Wide Aperture without close focusing– Can end up making some of the face out of focus.
- Bad Lighting -What kills portraits despite excellent blur is obnoxious light.
- Slow Shutter Speeds -Increases motion blur when handheld.
FAQs
Q: Is this an effect that can be had with a smartphone?
Yes, Portrait Mode can be found in most new phones but even still it still cannot match using a camera with a high aperture lens to capture actual optical bokeh.
Q: How do you get started in the cheapest way?
An inexpensive camera setup that will give amazing background blur is a Canon EOS Rebel T7 with a 50mm f/1.8 lens.
Q: To get a great blur, should I use a full frame?
Well, certainly not—APS-C and even Micro Four Thirds cameras with wide lenses are capable of creating lovely shallow DoF.
Conclusion
Learning how to take portrait photos with a defocused background is all about Aperture, focal length, and subject placement. Use a fast lens, pulling away from your background, and focusing right on the eyes to create portraits with professional-grade separation and bokeh.
Whether it’s your first DSLR and you are brand new as a photographer, or you are a content creator upgrading your gear, getting a 50mm f/1.8 or 85mm portrait lens will instantly make your portraits great.