
You might have never touched a camera in your life, or you might be wondering why your photos do not come out Instagram-worthy: in any case, learning about aperture is fundamental. It is one of the essential elements in forming any photo you make, though it is the one most misinterpreted.
Here, we will simply explain aperture into easy-to-understand terms, demonstrate how to creatively utilize aperture, and suggest a few beginner cameras and lenses in which to practice.
What Is Aperture in Photography?
Maybe you are a beginner in photography, and you have heard aperture being bandied about rather too much. However, what is the aperture? And why is it so essential?
Put very simply, aperture is the hole in the lens of your camera through which light can enter, towards the sensor (or the film). It is like the pupil of your eye—it opens wide or closes according to the amount of light there is.
The best way to achieve creative control of your photos is by mastering aperture. Aperture is at the centre of every photograph you capture, whether it be dreamy background depth of field (bokeh) or sharp landscapes with everything in the foreground and background in sharp focus.
Here in this simple guide, you can learn:
- Aperture and its working: What it is
- The role of f-stops in regulating light: How f-stops determine the quantity of light
- The aperture-depth of field relation
- Which gear to buy as a beginner
- The pro tips and cheat sheet to keep it simple
Tools You’ll Need to Learn Aperture
Now that you have read up on what aperture control is, and before we go into the how-to section, here are the materials that you will require to practice aperture control:
Manual/Aperture Priority Mode Camera
Select one of the models below that is easy to start with:
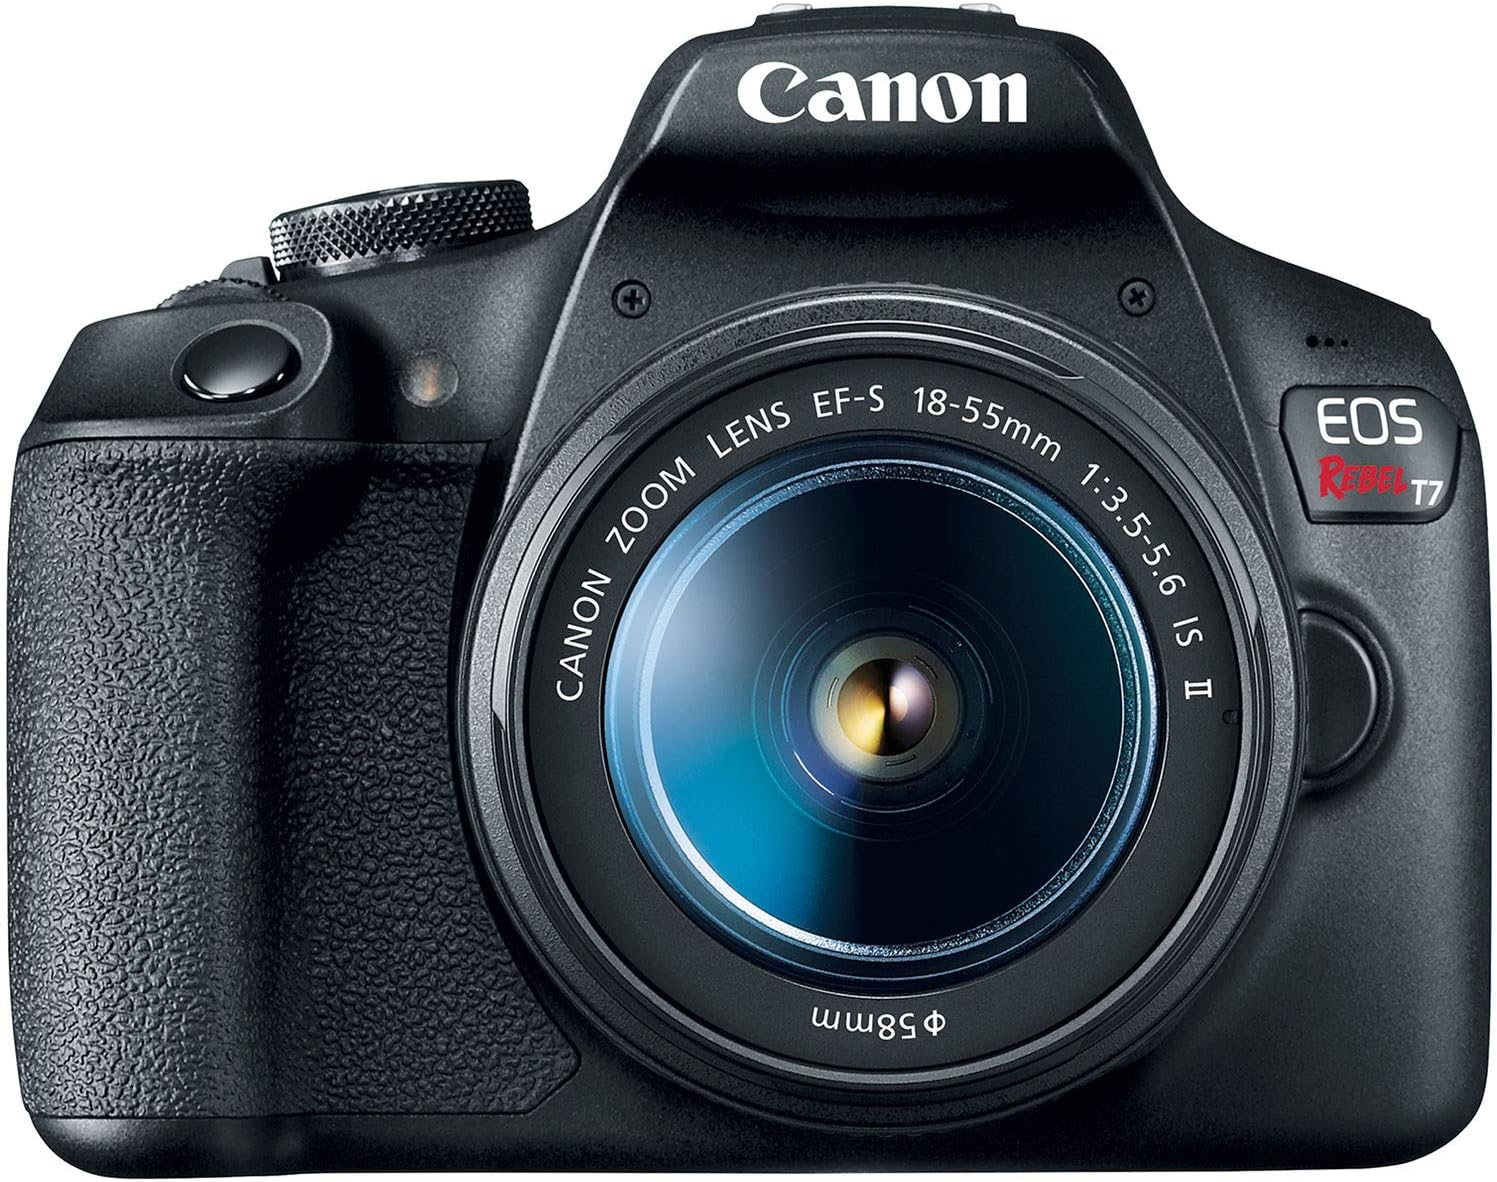
- Canon EOS Rebel T7 DSLR – Great DSLR with full manual controls.
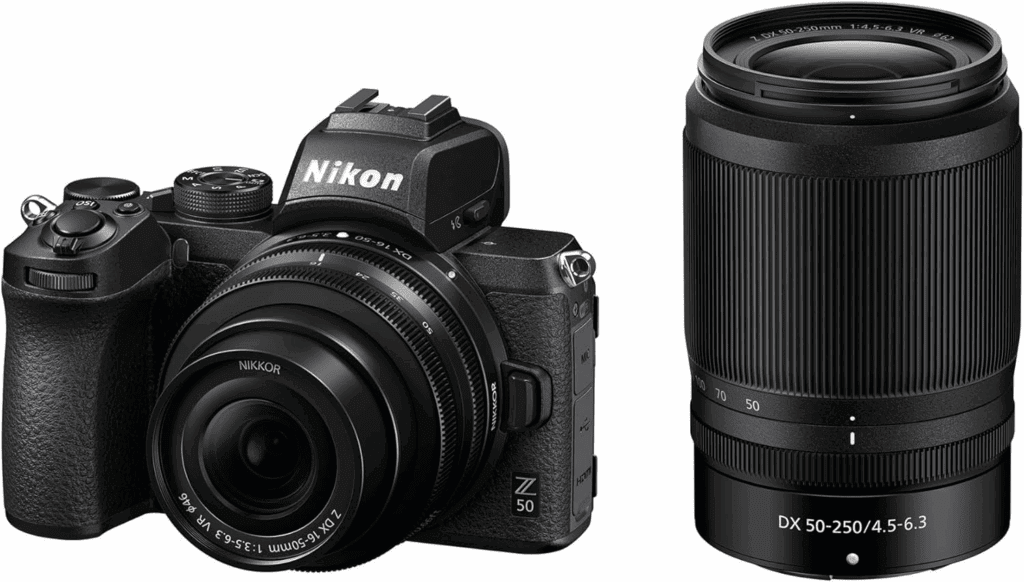
- Nikon Z50 (Mirrorless)—Lightweight, user-friendly, and excellent for YouTubers.
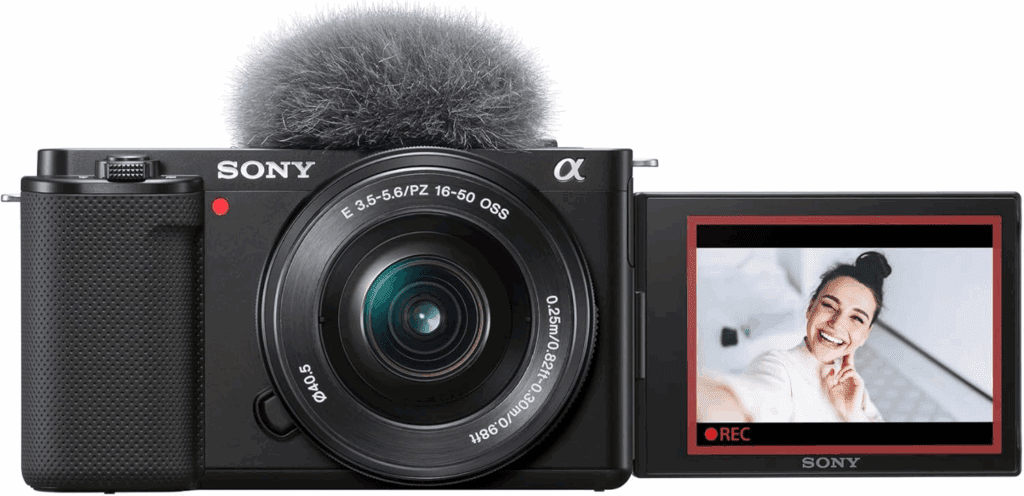
- Sony ZV-E10 – Designed for vloggers and content creators with great lens compatibility.
A Wide Aperture Lens
Fast lenses (those with smaller f-numbers) permit increased amounts of illumination and amazing out-of-focus.
- Canon EF 50mm f/1.8 STM (Nifty Fifty) – Affordable and great for portraits.

Affiliate Link: Canon EF 50mm f/1.8 STM (Nifty Fifty
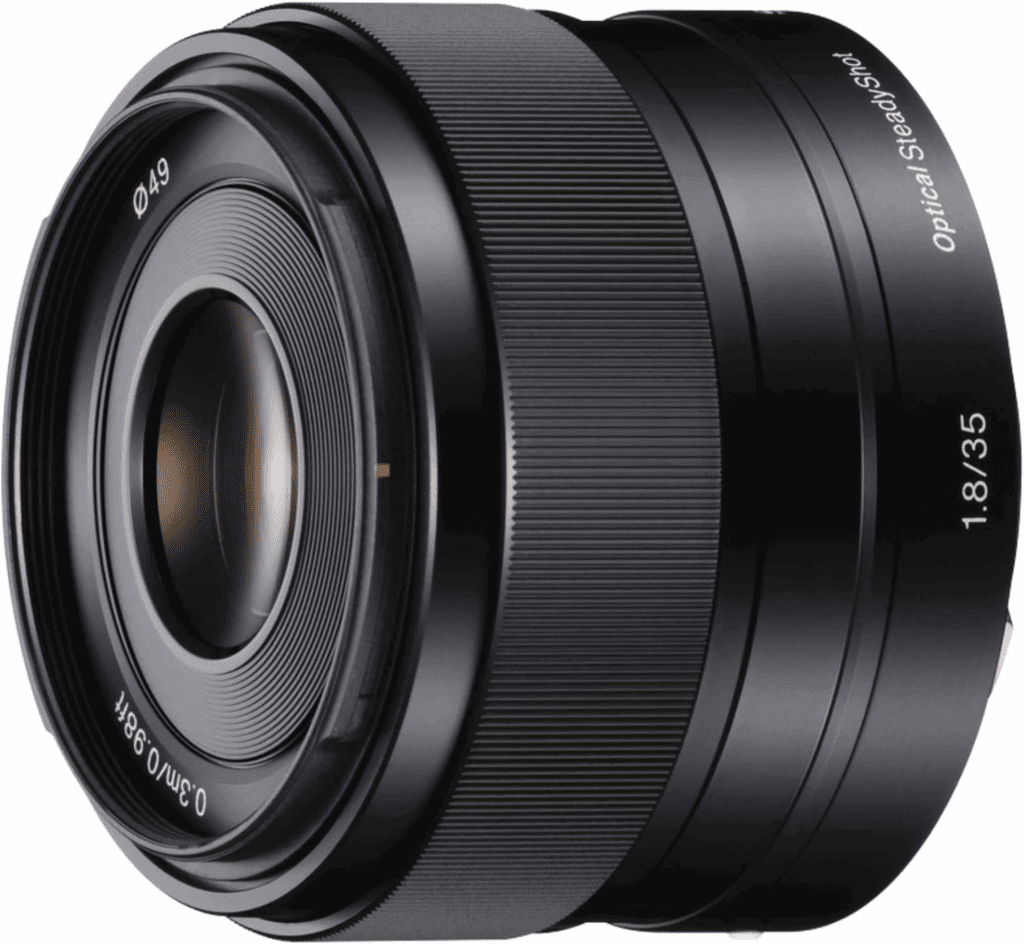
- Sony 35mm f/1.8 OSS – Ideal for Sony mirrorless cameras.

Affiliate Link: Sony 35mm f/1.8 OSS – Ideal for Sony mirrorless cameras.
Step-by-step: Aperture & How to Use It
Step 1: Understand Aperture Scale (f-stops)
Aperture size is measured in f-numbers, or f-stops, like
f/1.4 f/2.0 f/2.8 f/4.0 f/5.6 f/8 f/11 f/16 f/22
- A lower f-number (e.g., f/1.8) = wider opening = more light = shallow depth of field
- A higher f-number (e.g., f/16) = smaller opening = less light = greater depth of field
Quick Example:
- f/2.8 → Bright, soft background blur (ideal for portraits)
- f/11 → Everything in focus (ideal for landscapes)
Step 2: Try Aperture Priority Mode (A or Av)
Take the Aperture Priority Mode to give you control over aperture and allow the camera control over the shutter speed and ISO.
How to Set it:
- Rotate the mode dial to A (Nikon/Sony) or Av (Canon)
- Use the dial of your camera to switch the f-stop number
- Take a common subject and shoot at varied f-stops and see what happens
Step 3: Understand Depth of Field (DoF)
Depth of field is a description about the amount of your picture that is in focus:
- Shallow DoF (low f-number): Subject in focus, background blurred → great for portraits
- Deep DoF (high f-number): Most of the scene in focus → great for landscapes
Try this:
- photograph a friend at f/2.8 and f/11
- Notice the different changes in the background.
Step 4: Know How Aperture Affects Exposure
Aperture is one of the 3 pillars of the Exposure Triangle, alongside Shutter Speed and ISO.
- A wider aperture (e.g., f/1.8) = more light = brighter photo
- A narrower aperture (e.g., f/16) = less light = darker photo
Pro Tip:
You can also have to adjust the shutter speed or the ISO to balance the exposure when either your photo is darker or brighter than you would prefer.
Step 5: Experiment using Different Subjects
To match aperture settings with the different styles in photography, we do the following:
| Photography Type | Recommended Aperture |
| Portraits | f/1.8 to f/2.8 |
| Landscapes | f/8 to f/16 |
| Street Photography | f/4 to f/8 |
| Low-Light Scenes | f/1.4 to f/2.0 |
| Macro Photography | f/5.6 to f/11 |
Tips to Learn Aperture
- Use Fast Prime Lens
Begin with using a cheap lens such as the Canon 50mm f/1.8 in order to train shallow depth of field and shooting in low light.
- Don’t Be Afraid of Manual Mode
After getting comfortable with the aperture switch to a Manual Mode (M) setting and adjust ISO, shutter speed, and aperture as a package.
- Mind the Overexposure
The larger apertures permit greater light. On sunny days, you may wish to use it.
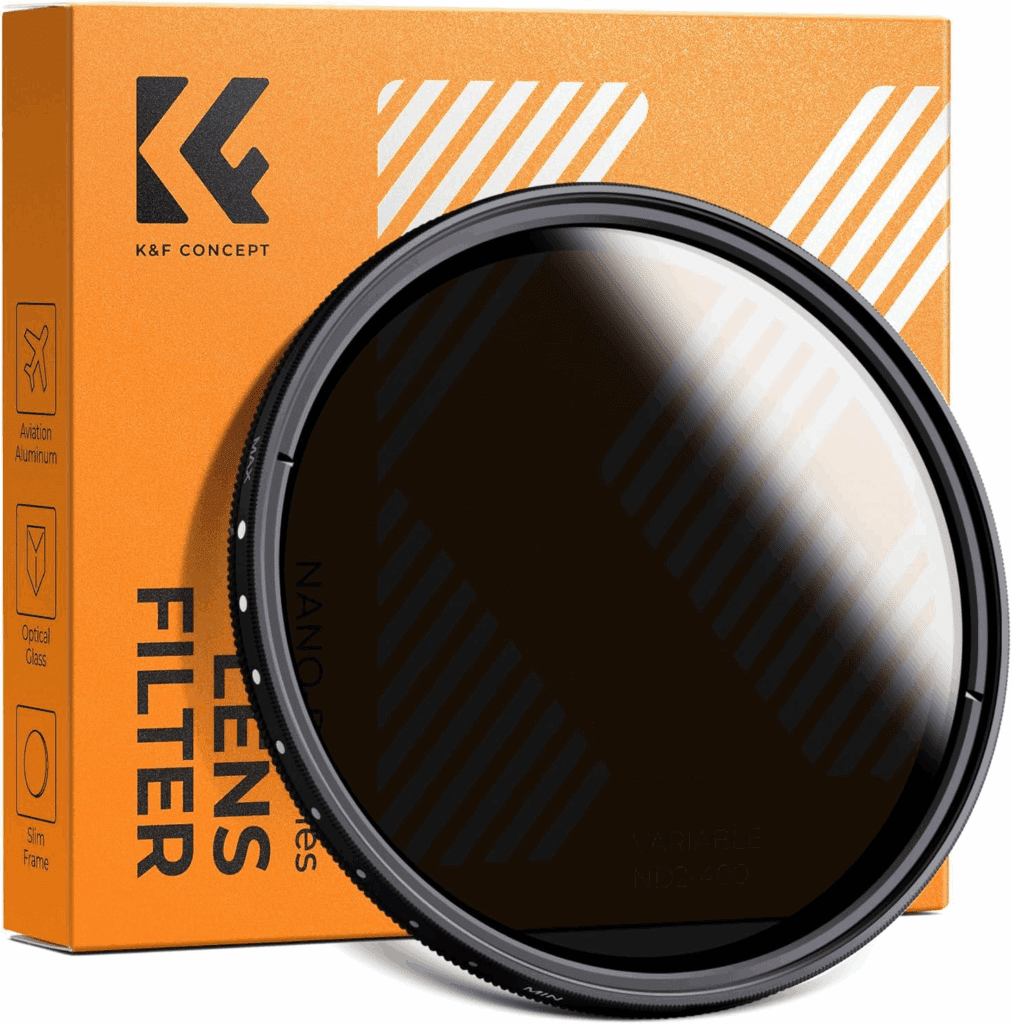
- ND Filters (Neutral Density Filters) to reduce light
➤ Recommended: K&F Concept ND Filter
Affiliate Link: ND Filters
- Make a Bokeh Background
Get a low f-number, sink down some, and hold your model well away from the dreamy blurred background.
- Save or Print a Cheat Sheet
Here’s a simple and clear cheat sheet you can print or save to master aperture:
Aperture Cheat Sheet
| f-stop | Light | Depth of Field | Ideal For |
| f/1.4 | ★★★★ | Very Shallow | Low light, bokeh portraits |
| f/2.8 | ★★★ | Shallow | Portraits, close-ups |
| f/5.6 | ★★ | Moderate | Everyday shots, streets |
| f/8 | ★ | Deep | Landscapes, architecture |
| f/11–f/22 | ★ | Very Deep | Product, macro, scenery |
Recommended Cameras & Lenses for Practicing Aperture
DSLR & Mirrorless Cameras
- Canon EOS Rebel T7 (DSLR)
Best for those of you who are just starting to learn manual photography
Affiliate Link: Canon+EOS+Rebel+T8i+/+850D

- Nikon Z50 (Mirrorless)
Great autofocus, like a small one, good lens compatibility
Affiliate link: Nikon Z 50 with Two Lenses | Compact mirrorless stills/video camera with wide-angle and telephoto zoom lenses | Nikon USA Model
- Sony ZV-E10 (Mirrorless)
Wide lens or Tailored for content creators
Affiliate Link: Sony Alpha ZV-E10 – APS-C Interchangeable Lens Mirrorless Vlog Camera Kit – Black
Lenses for Creative Aperture Control
- Canon EF 50mm f/1.8 STM
Perfect for portraits and learning bokeh
Affiliate Link: Canon EF 50mm f/1.8 STM Lens International Version (No warranty)

- Nikon Z 40mm f/2
Compact and sharp, great for beginners
Affiliate Link: Nikon NIKKOR Z 40mm f/2 | Large aperture 40mm prime lens for Z series mirrorless cameras | Nikon USA Model

- Sony 35mm f/1.8 OSS
Great background blur with image stabilization
Affiliate Link: Sony SEL35F18 35mm f/1.8 Prime Fixed Lens
Conclusion
This is one of the first large steps to taking control of your photography by learning what aperture is. Do you want creamy blurred backgrounds or clean landscape images–use of f-stops and depth of field will quickly take you to a new skill level.
The upside? You do not have to spend money on the most costly equipment to learn aperture. Simply choose an entry-level camera and a fast lens, and begin experimenting on it, and refer to this guide and cheat sheet whenever in doubt.