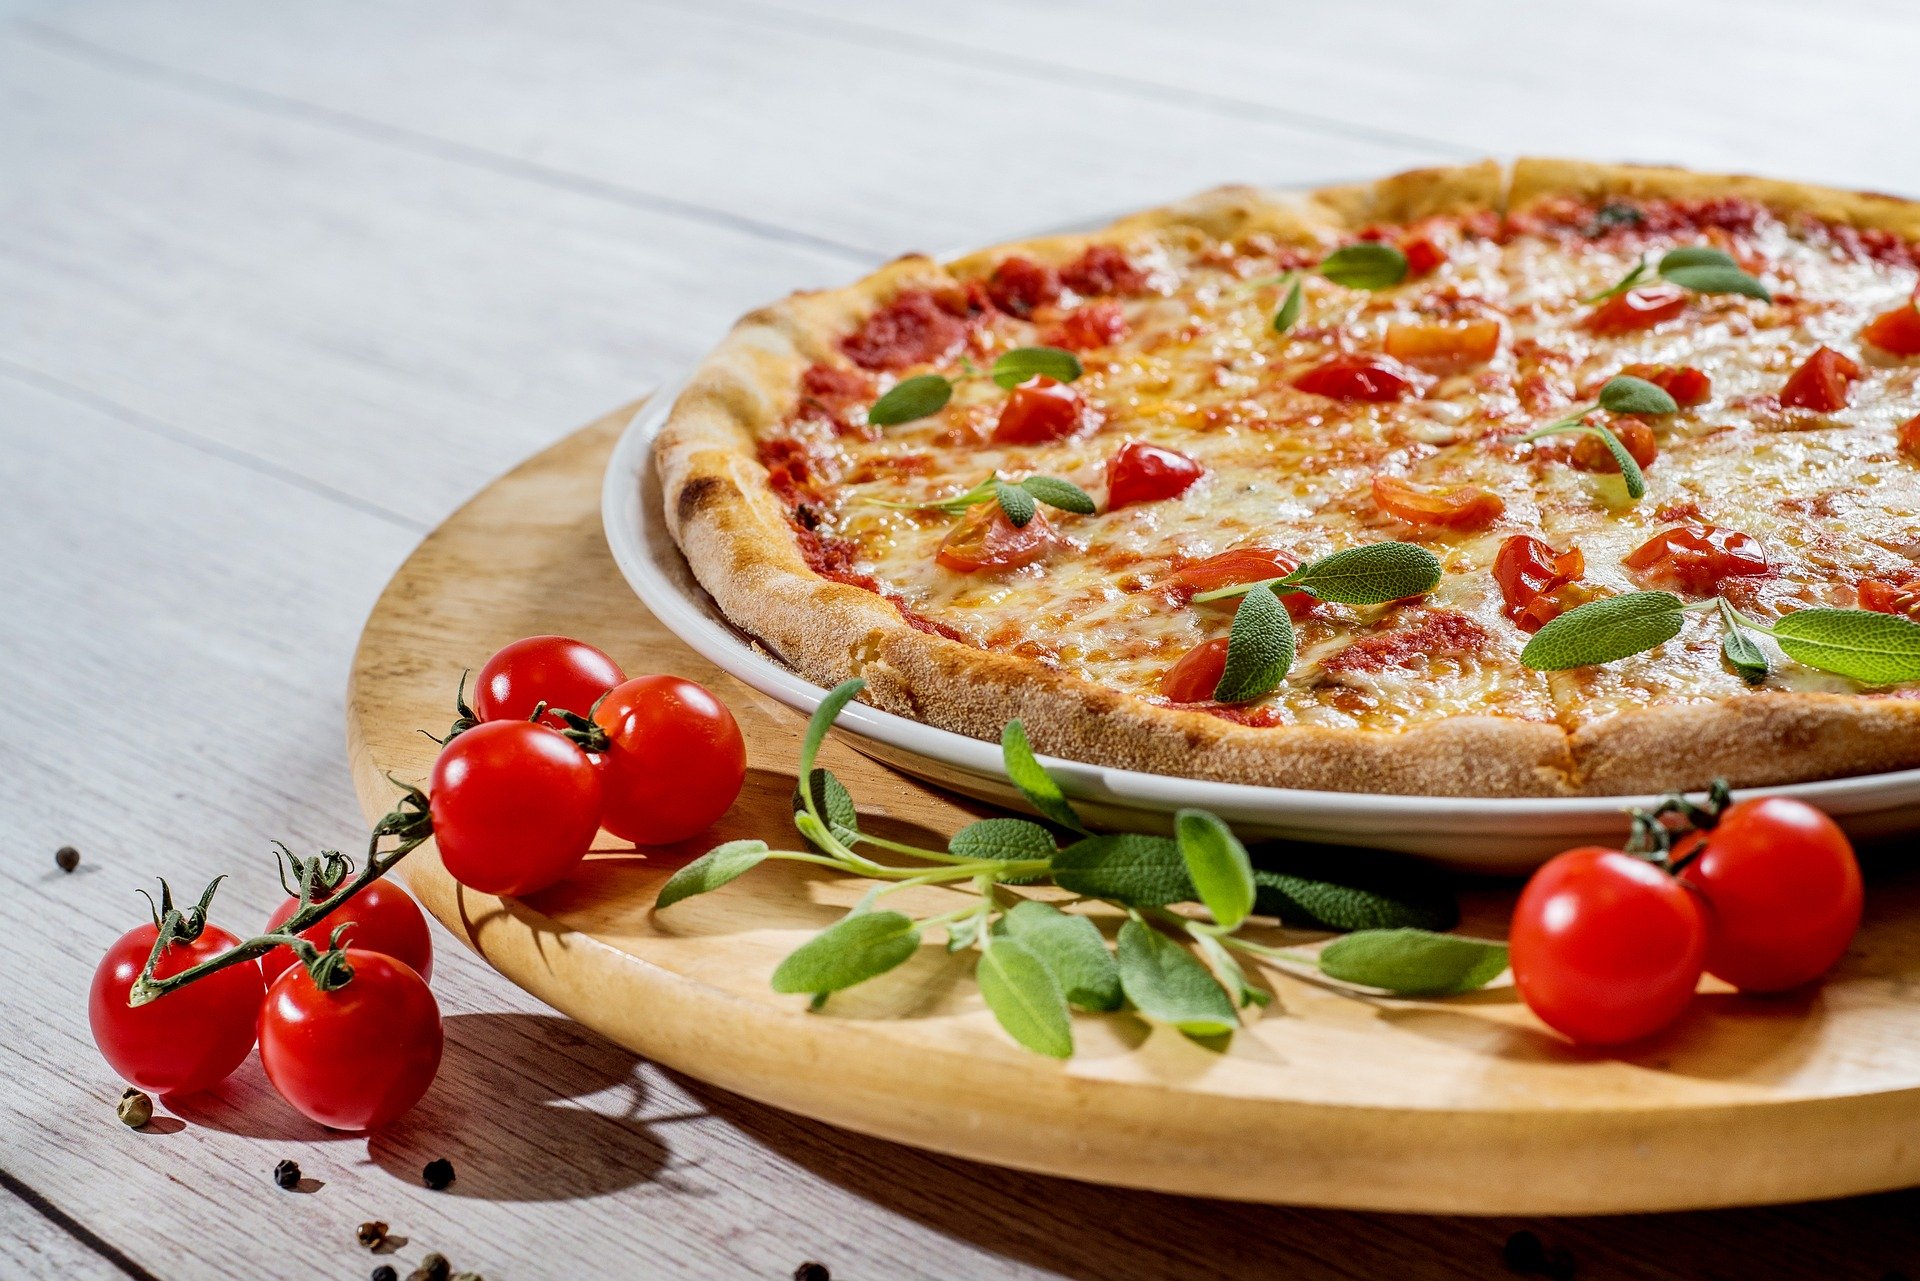
Food photography is a phenomenon that has grown out of online communities like food blogs and social media. We now find ourselves compelled to snap away at our food creations before we even consider indulging in the dishes we have lovingly crafted.
While professional studios and influencers will have access to the greatest possible equipment to ensure the snaps stand out as eye poppingly desirable, there are many techniques that we can all use to improve our food shots. Here are some top tips for beginners.
Tip One: Use Natural Light and Move Around
Firstly, make sure to be aware of the influence that lighting can have on the final shot. In particular, lighting intensity will radically alter the way food looks on the plate. In a case of poor lighting, the viewer will immediately be turned off and dissatisfied. In order to achieve the best quality images, avoid photographing food while using overhead lights, lamps, or a flash. Instead, use natural light sources for the greatest results.
It may also be the case that the kitchen isn’t the best location to shoot the food. Remember that you can always move rooms in order to find the greatest lighting that really allows the food to pop. It could even be the case that a bedroom in the early evening provides the greatest results, or a living room in the morning. Don’t be afraid to experiment!
Tip Two: Always Consider Multiple Angles
When photographing dishes, angle is everything! The professionals understand that different kinds of food are suited to their own angles. For instance, a Pizza is better photographed from above to allow the viewer to get a glimpse of the spread of toppings and the scale of the dish. Some items like burgers or drinks are better photographed from the side as it creates an attractive ‘cross-section’ view. Find an angle that best represents the shape and form of the item.
Once again, experimentation is always encouraged. When shooting the food, take multiple photographs and move the food around the plate or table to ensure that you have a good choice of images for the final post.
Tip Three: Eliminate Clutter… Or Should We?
Another consideration that may not immediately stand out is the background of the shot. When shooting food, always focus on what is important to the image. This may not be the napkins, cutlery, or other elements on the table. Sometimes, less is more. A minimalist approach will only draw more attention to the food you want to photograph, and thus it may be more desirable to eliminate unnecessary clutter that simply detracts from the final image.
However, this is not to detract from additional elements within an image. If you wish to incorporate storytelling into the image, the inclusion of things like jars and fabrics to best use some of the empty space surrounding the food could develop a mood or emotional depth to the final shot.
Tip Four: Using Software
One of the reasons that professional food photographers can produce such vivid, attractive images is that they will constantly edit the shots they have taken using dedicated photography editing software. For the enthusiast, such software may not be out of reach. Packages like Photoshop are now commonplace, and free alternatives exist that can be just as viable for users.
After importing the pick of your shots into these editing suites, there are many things you can do to radically alter the image. For instance, some basic techniques could include the tweaking of image contrast, clarity and sharpness to allow captivating elements to stand out and emphasise freshness. More complex options could include lens corrections and white balance, which begins with the use of a grey card and allows for the photographer to creatively switch the dynamic of images.
For more tips to really develop the abilities you have in food photography, why not check out the book linked below!


